
Last updated November 21, 2026
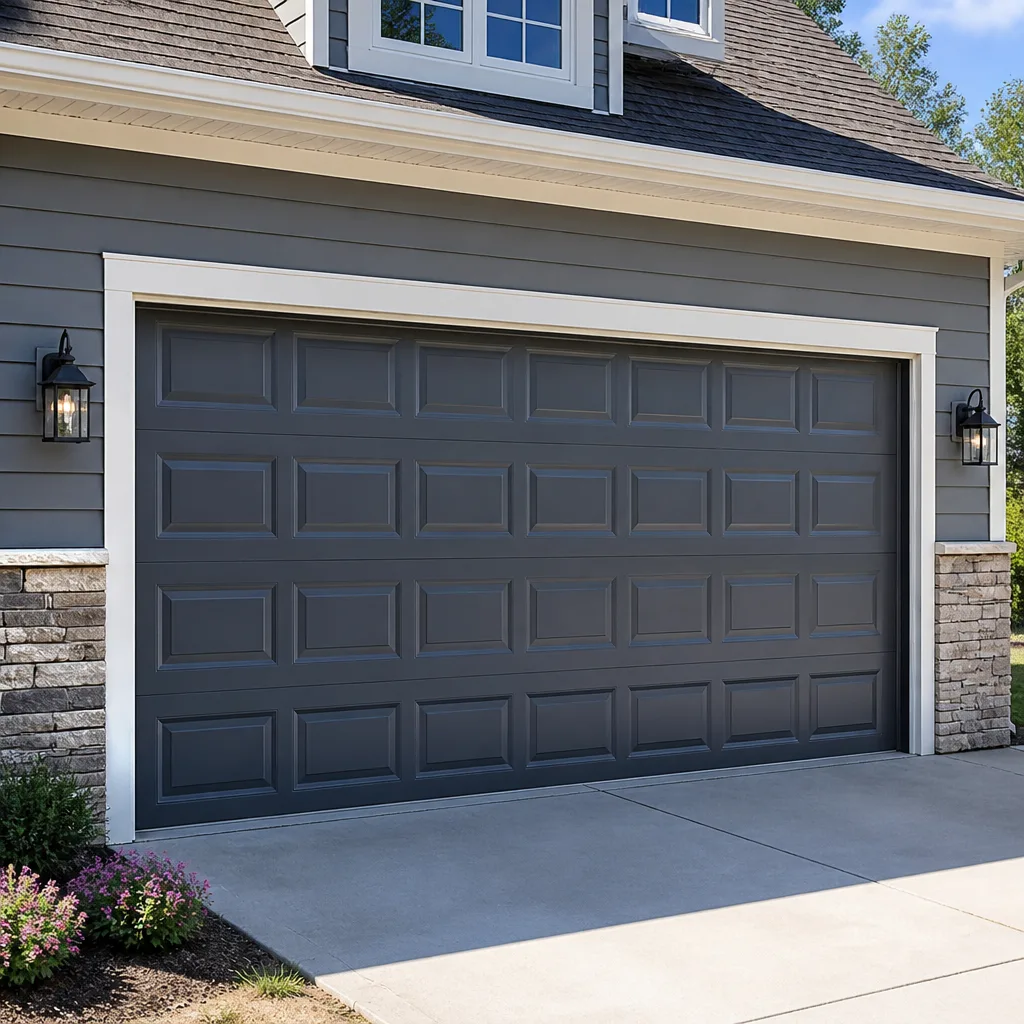 Raised-panel steel
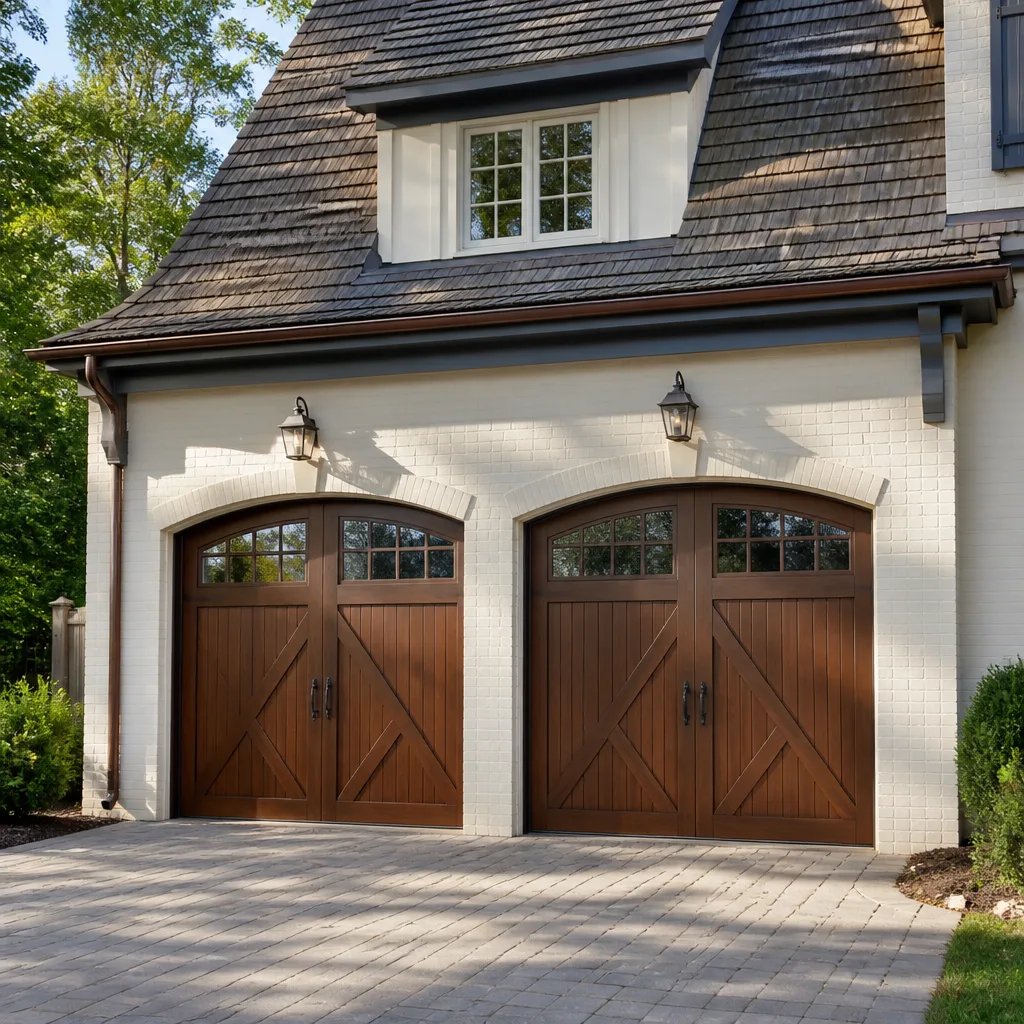 Carriage house
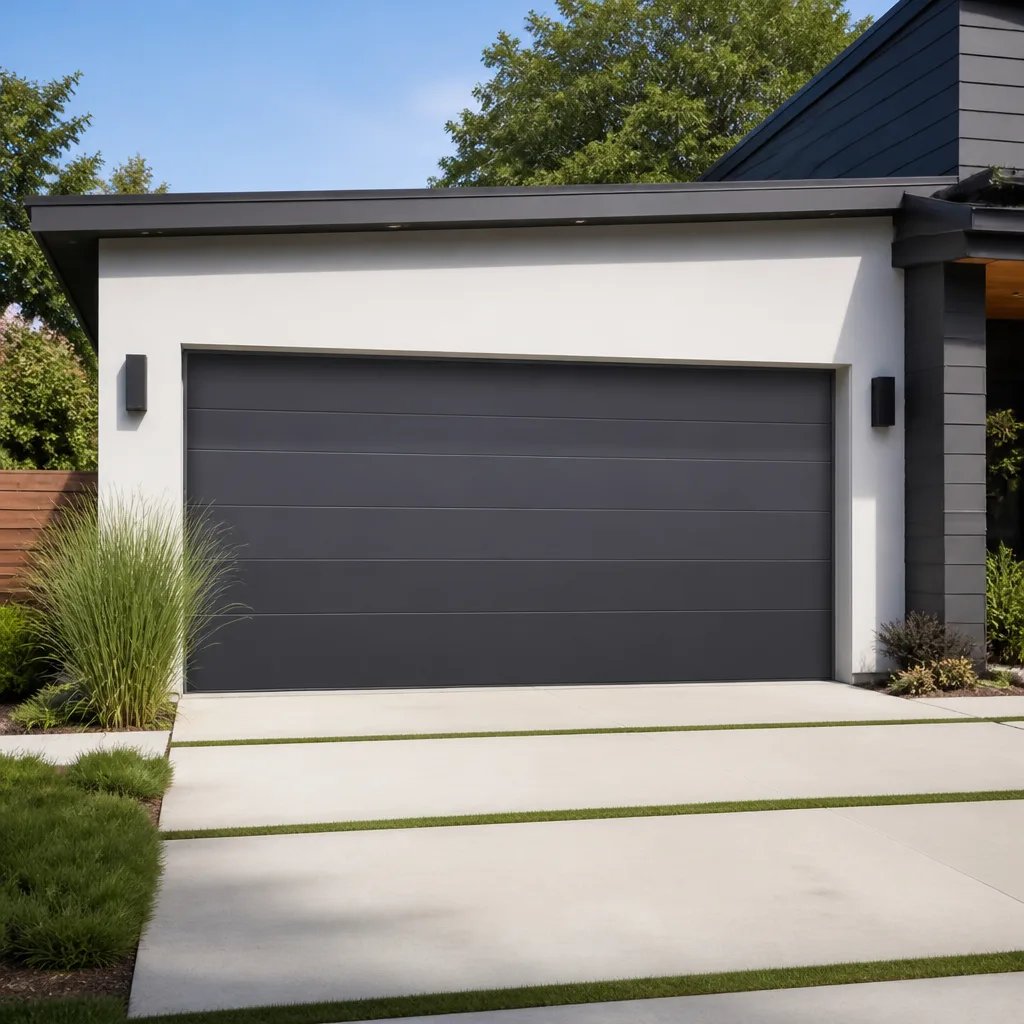 Modern flush
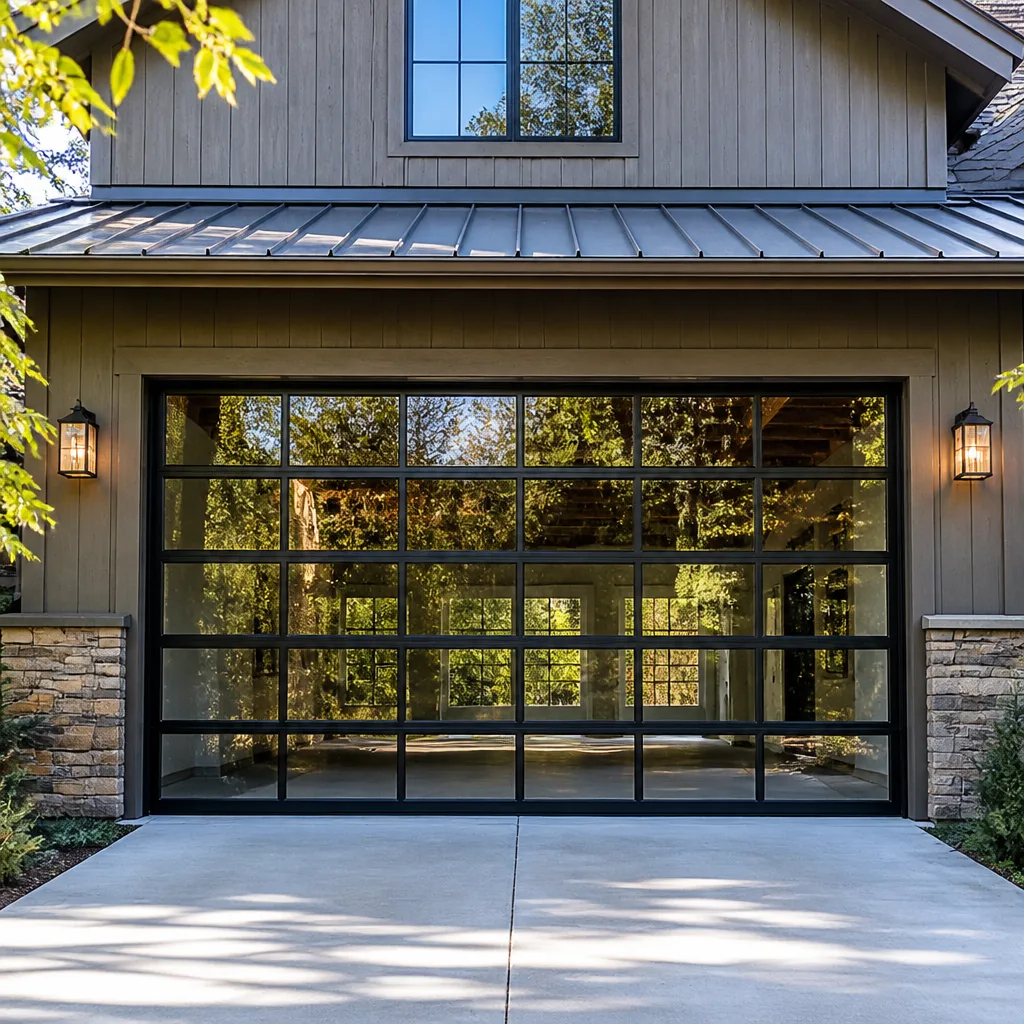 Full-view glass
 LiftMaster openers
 Chamberlain openers
Full 25-point door and opener safety check with every visit - springs, cables, rollers, tracks, and your LiftMaster or Chamberlain opener included
You get a price before we start. It does not change when the pro arrives.
Get your free estimateGarage Door Repair Maintenance Checklist for Poinciana Homeowners
Most garage door checklists you’ll find online were written for a climate with four seasons. Poinciana doesn’t have four seasons. It has a long hot stretch, a violent rainy stretch from June through September, and a mild in-between. That changes which parts fail and when. The single most skipped task on Poinciana garage doors isn’t lubrication. It’s checking the bottom seal and the track after the summer storm window, when swollen door bottoms and warped tracks quietly ruin weatherstripping that costs a few dollars to replace but a lot more to ignore. The rubber dries, cracks, and stops sealing, and most homeowners don’t notice until water and pests are already finding their way in. This guide walks through a checklist built around the conditions that actually break doors here, from what to check monthly to what should always go to a technician.
Quick Answer
A garage door maintenance checklist in Poinciana should center on heat and rain, not a generic annual schedule. In practice, that means a 10-minute visual and lubrication check once a month, a deeper inspection after the summer rainy season ends, and a call to a professional for anything involving springs, cables, or the opener’s internal electronics. Most of the work you can safely do yourself takes under an hour. The parts that cause real injury need the local pro.
Styles & brands we work with
- Raised-panel steel
- Carriage house
- Modern flush
- Full-view glass
- LiftMaster openers
- Chamberlain openers
Table of Contents
- Why Poinciana Garage Doors Fail Differently
- The 10-Minute Monthly Walk-Through
- The Post-Rainy-Season Inspection: What to Check After September
- Lubricants That Hold Up in Florida Heat (and the Ones That Don’t)
- How to Test Auto-Reverse Sensitivity
- Hardware and Torque Checks for Standard 2-Car Doors
- The Deeper Semi-Annual Check
- What Stays In Your Hands and What Goes to a Technician
Why Poinciana Garage Doors Fail Differently
Poinciana sits in Central Florida, which means garage doors here live through sustained heat for months, followed by an intense afternoon storm pattern every summer. That combination wears door hardware in a specific order. Heat expands metal tracks and can bow them slightly out of alignment. The rubber and vinyl seals soften and dry out. Lubricant on the rollers and hinges breaks down faster. Then the rain arrives, pushing water against the door bottom and into any gap the seal has developed.
There’s a second factor that’s easy to overlook: the housing itself. Much of Poinciana was built by a small number of production builders, and the standard two-car garage configurations in those neighborhoods share a lot of the same hardware profiles. You’ll see Clopay and Amarr doors in many homes, common Wayne Dalton setups in others. That means certain parts wear on a predictable schedule. When we work on a door in Poinciana, we usually know what we’re walking into before we open the toolbox.
What this adds up to is a maintenance rhythm based on the calendar here rather than a generic “check your door twice a year.” The monthly walk-through catches small problems. The post-rain inspection catches what the summer did to your seals and tracks.
The 10-Minute Monthly Walk-Through
This is the check most homeowners can do in their pajamas. It’s not about disassembling anything. It’s about catching a problem while it’s still small. Set a reminder once a month and run through these steps:
- Look at the door from the curb. Stand outside and check whether the door is straight. A sagging panel or one side that sits lower is a real warning sign.
- Run the door and listen. A properly working door is quiet. Grinding, squealing, or a rhythmic thumping is a clue that lubricant, alignment, or hardware is failing.
- Check the bottom seal. Run your hand along the bottom rubber. It should be soft and flexible with no cracks, gaps, or brittleness. A stiff or cracked seal is the leading weatherstripping failure here.
- Look at the track edges. Run your eye from floor to ceiling along both tracks. Any dent, kink, or obvious bend is a sign something struck the door or the track has shifted.
- Check the safety sensors. With the door open, press the wall control and watch the photoelectric sensors at the bottom of each track. Interrupt the beam with your hand. The door should reverse. If it doesn’t, stop using the opener and call a technician.
- Feel for loose hardware. With the door in the up position, lightly touch the hinges and brackets. Anything visibly loose or visibly missing a bolt should be addressed before the next cycle.
- Test the balance. Pull the door down manually. It should lift smoothly with one hand and stay where you leave it. Heavy lifting or a door that drops is an immediate call to the technician line.
None of those steps requires a tool beyond your own hands. If you can spot a problem, you can call before it gets expensive.
The Post-Rainy-Season Inspection: What to Check After September
The June through September storm window here is the hardest stretch on your door. Between the heat and the rain, weatherstripping takes a beating. The reason this check matters is that the damage isn’t always visible from the driver’s seat. You need to get down on the ground and look at the parts that touch the floor.
- Inspect the bottom seal edge to edge. Get down and look under the closed door. There should be continuous contact between the seal and the floor with no gaps. If you can see light or feel a draft, the seal isn’t sealing.
- Run a paper test. Close the door on a piece of paper, then try to pull the paper out. It should resist. If it slides out anywhere along the bottom, that’s a spot where water is going to come in.
- Look at the door bottom itself. Swelling, warping, or a rough lower edge on the door bottom is a sign moisture has been sitting against it.
- Check the track for rust or displacement. After the summer, look for rust streaks and any spot where the track has been pushed out of line with the wall. A single bent section of track can throw the whole door off balance.
- Look at the garage interior walls. Water stains or dark streaks along the bottom corners of the garage walls are a sign the door hasn’t been sealing through the storm season.
If you find seal problems, that’s a repair most homeowners can assign to a professional relatively quickly. Wait too long, though, and the water damage is a much bigger deal.
Lubricants That Hold Up in Florida Heat (and the Ones That Don’t)
Here’s the part that trips up a lot of people: not all lubricants work in a garage that hits 100°F or higher. The wrong product turns gummy, attracts dust and debris, and makes the door slower than when it started.
- Use a garage door specific silicone or lithium spray. These hold up in heat and don’t gum up. They’re what you want on the hinges, rollers, and the bearing plates.
- Apply sparingly. A thin coat is enough. Over-lubricating creates buildup that traps dust and grit from the driveway.
- Skip the cooking spray and WD-40. Both seem like quick fixes but they either evaporate or thicken in heat, and neither is right for load-bearing parts.
- Don’t lubricate the tracks or the spring. Tracks should stay clean and dry. Torsion and extension springs should never be lubricated by a homeowner, because that work is at the heart of the risk profile of garage door repair.
Lubricate every two to three months in summer. Once the weather cools off, you can stretch that to every four to six months. In a garage that faces west and bakes every afternoon, err on the shorter side. If you’re not sure what to use on a specific brand, we work on the brand already on your door. Clopay, Amarr, Craftsman, Wayne Dalton – the right product is the same for any of them. Ask us when we’re out.
How to Test Auto-Reverse Sensitivity
The auto-reverse mechanism is the safety feature that stops the door from crushing something in its path. It works two ways: through the photoelectric sensors at the floor, and through resistance sensing inside the opener when the door hits something. Both need testing. Most homeowners test neither.
Drift from heat is the reason. Heat expands the door slightly, and worn rollers add play. Over time, the force sensitivity drifts and the door clears a lighter object without reversing.
Here’s how to test it:
- Test the sensors. Open the door, then walk through the sensor beam at the bottom of the tracks. The door should reverse. If not, call a technician.
- Test the force reversal. On a closed door, place a heavy object like a roll of paper towels or a 2×4 flat on the floor under the middle of the door. Press the wall control. The door should reverse immediately upon contact. If it continues to close, stop using the opener and call for repair.
- Adjust only if you know the opener. LiftMaster, Chamberlain, Genie, and Craftsman openers all use slightly different force-adjustment procedures. The manual for your specific model is the only safe source. If you can’t find it, get a technician to make the adjustment.
Test both mechanisms monthly. It’s the check most homeowners skip, and it’s the one that actually matters for safety.
Hardware and Torque Checks for Standard 2-Car Doors
Most of Poinciana’s two-car garages share the same basic hardware layout: a torsion spring across the header, a chain or belt drive opener in the ceiling, rollers in tracks on both sides, and hinges that connect the door panels. That setup means a few specific fasteners matter more than the rest. Checking them takes a screwdriver or a socket wrench, and it belongs in your semi-annual routine.
- Check hinge bolts. Each hinge is attached with two or three bolts. Loose hinge bolts are common after a few years of cycling.
- Check the operator bracket. The bracket that attaches the opener arm to the door takes a lot of stress. Look for visible cracking or looseness.
- Inspect the roller stems. Rollers should sit centered in the track, not tilted or worn on one side. Worn rollers make a racket and put extra load on the opener.
- Look at the spring and its mounting plates. Visual only. If you see widespread rust, a winding cone that looks damaged, or the spring has visible cracks or gaps, stop using the door and call.
- Check the flag bracket and track bolts. The corner brackets where the horizontal and vertical tracks meet should be solid, not wobbly.
Do not torque anything near the spring, cables, or the spring’s winding cones. Those hold enormous tension. A spring that releases while your hand is near it can cause serious injury, which is why this part of the check is visual only.
The Deeper Semi-Annual Check
Twice a year – ideally in late spring before the rains and again after the rainy season – do a deeper pass. Some items stay in your hands. Others call for a technician.
In your hands:
- Re-lubricate all hinges, rollers, and bearing plates.
- Wipe the tracks with a clean, slightly damp cloth and dry them.
- Re-torque hinge and bracket bolts using a socket wrench.
- Test the auto-reverse both ways.
- Inspect the seal and replace if needed.
Technician territory:
- Balance test. A well-trained tech checks that the door’s counterbalance is correct and can adjust the spring if it isn’t. Springs should never be adjusted by a homeowner.
- Spring and cable inspection. Cables run under tension and a frayed cable is a hazard. Visual only from a distance for you.
- Opener internal inspection. Belt or chain tension, gear wear, and drive sprocket condition should be checked by a technician.
- Safety sensor alignment. Photo eyes drifting out of alignment are a common cause of intermittent operation, and calibration is best left to a pro.
If a door is doing something odd during this pass – a thump, a stall, a reverse that doesn’t happen – it’s worth a call. We cover garage door repair on every component of the system, so a semi-annual check with an issue found is a good time to get it fixed in one visit.
What Stays In Your Hands and What Goes to a Technician
The line here is simple. Anything that involves tension stored in the door’s mechanism is technician territory. Anything that’s visual, cleaning, or low-torque gets to stay with you.
The safe list: cleaning and lubricating, testing the auto-reverse, checking the seal, re-torquing hinge and bracket bolts, replacing the bottom weatherstripping with a same-spec replacement, wiping and lightly adjusting the track (no prying).
The call list: any spring work, any cable work, opener diagnosis, force-adjustment on the opener, track repair beyond a light clean, replacement of hinges or rollers that require the door in a specific position, and any problem with the balance of the door.
If you don’t have a technician relationship yet, this is where local expectation matters. Garage door spring repair is the most hazardous task in this trade, and we’d rather be on the phone with you before that part fails than after. Same-visit diagnosis and repair helps too. That’s where a checklist becomes a lot more useful than a to-do list that ends with “call a company somewhere.”
Common Mistakes to Avoid
- Skipping the bottom seal check after rainy season. It’s the most overlooked task here. Seal damage leads to water intrusion and eventually warped door bottoms, so look under the door once September passes.
- Using WD-40 on hinges and rollers. It feels like it helps, but it evaporates in the heat and leaves the joints dry. Use a garage door specific silicone spray instead.
- Lubricating the tracks. Oil and grease on the tracks attract grit and cause rollers to slide instead of roll. Tracks stay clean and dry.
- Adjusting the opener’s force setting to “make it go.” If the door stops on the way up, the problem isn’t the force setting. It’s a mechanical issue like a bad spring or a binding hinge.
- Ignoring a visual kink in the track. Small dents get bigger with each cycle. A kink in the track can be repaired, but leaving it causes roller wear and opener strain.
- Tightening everything with a socket without checking torque. Over-tightening hinge bolts cracks the door panel around them. Snug is the goal, not cranked tight.
- Assuming one check up north works here. The heat and rain window here changes the rhythm. What works for a four-season schedule doesn’t match what Poinciana conditions demand.
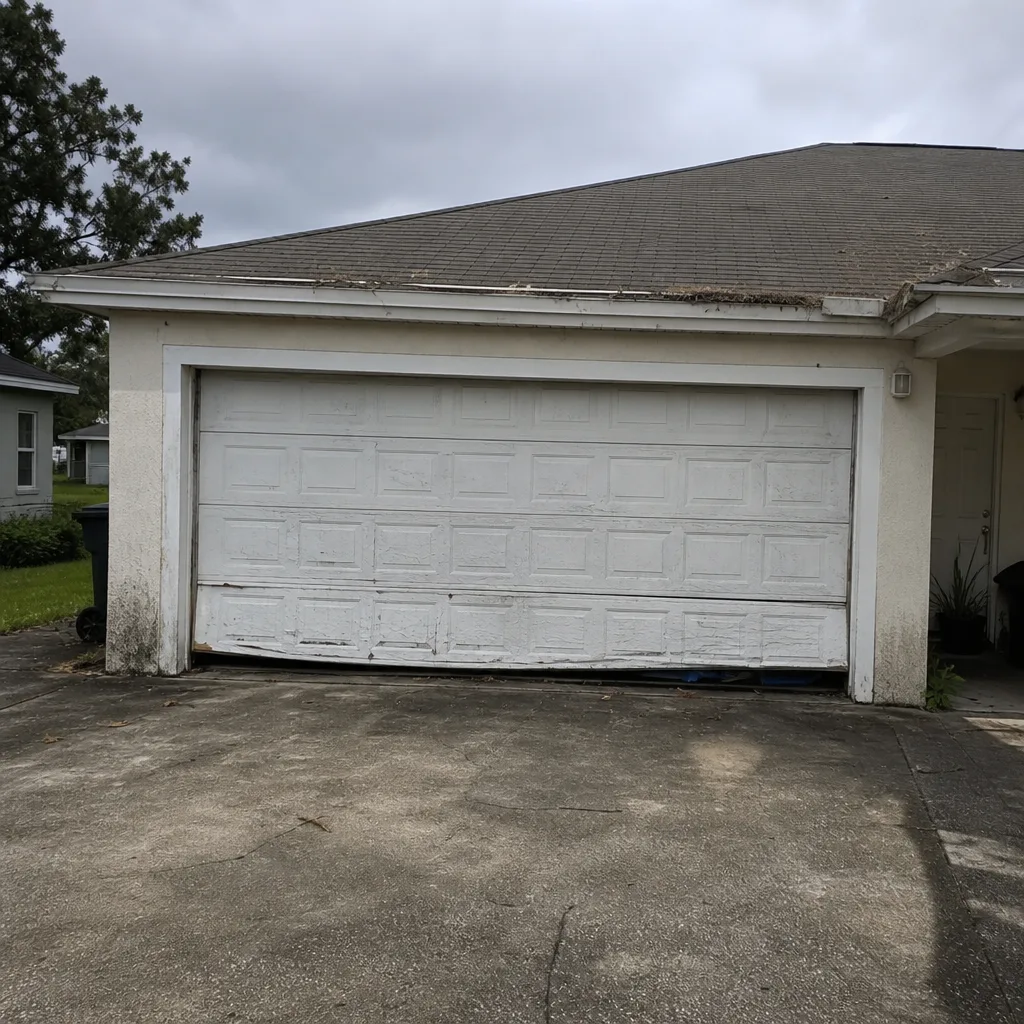
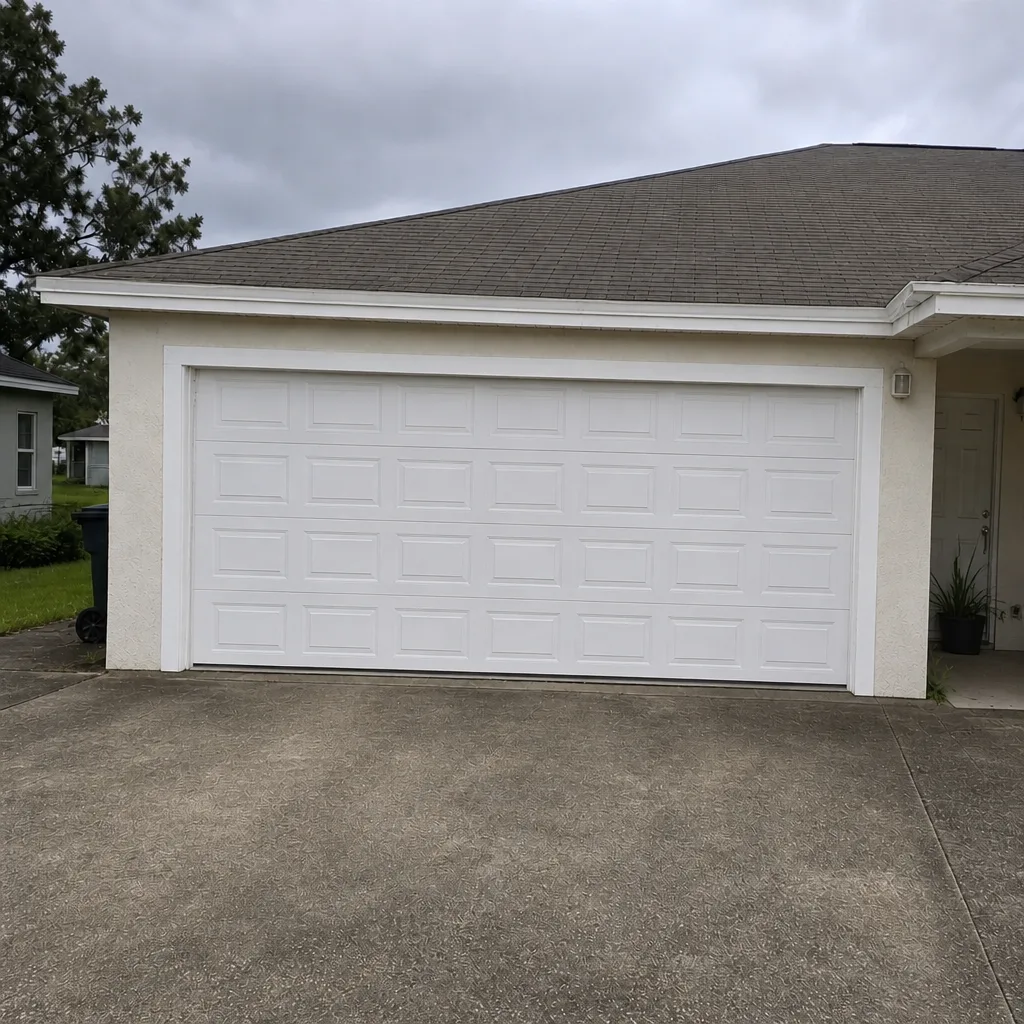
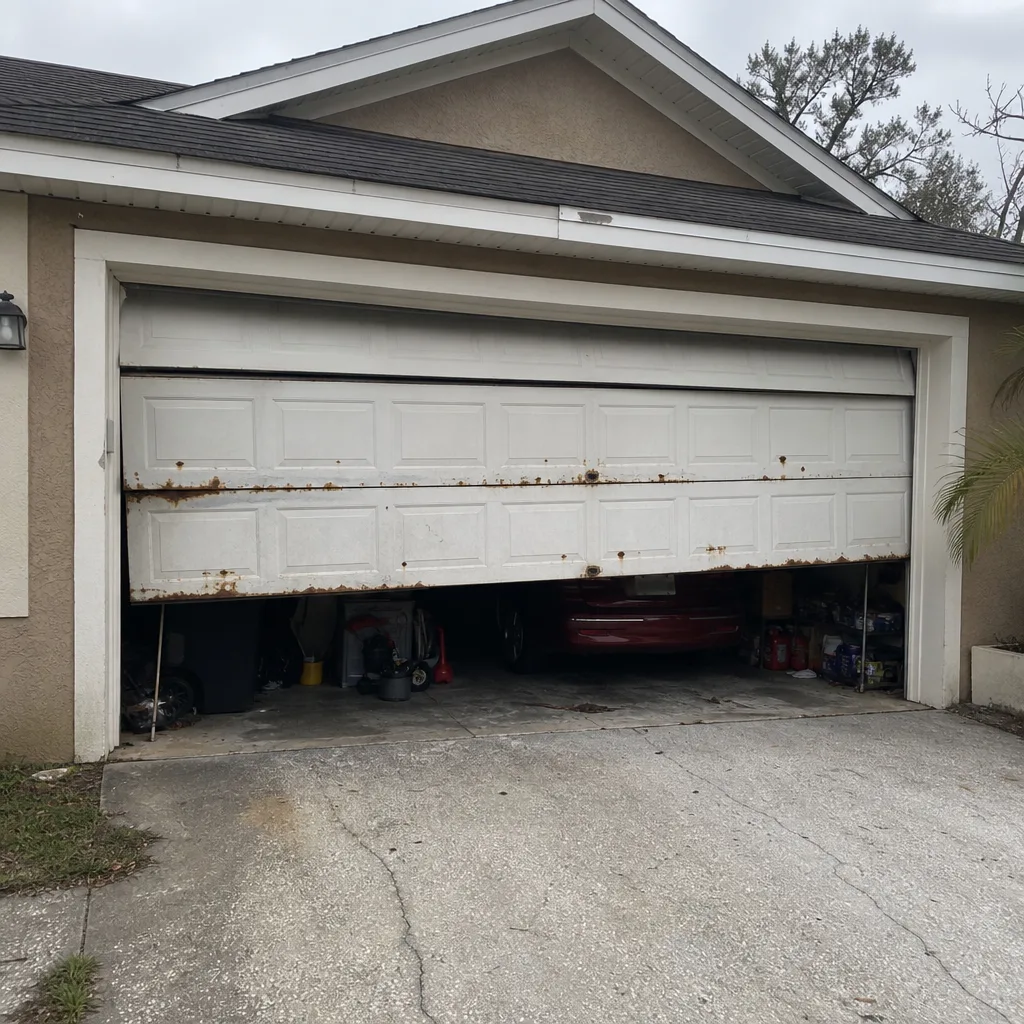
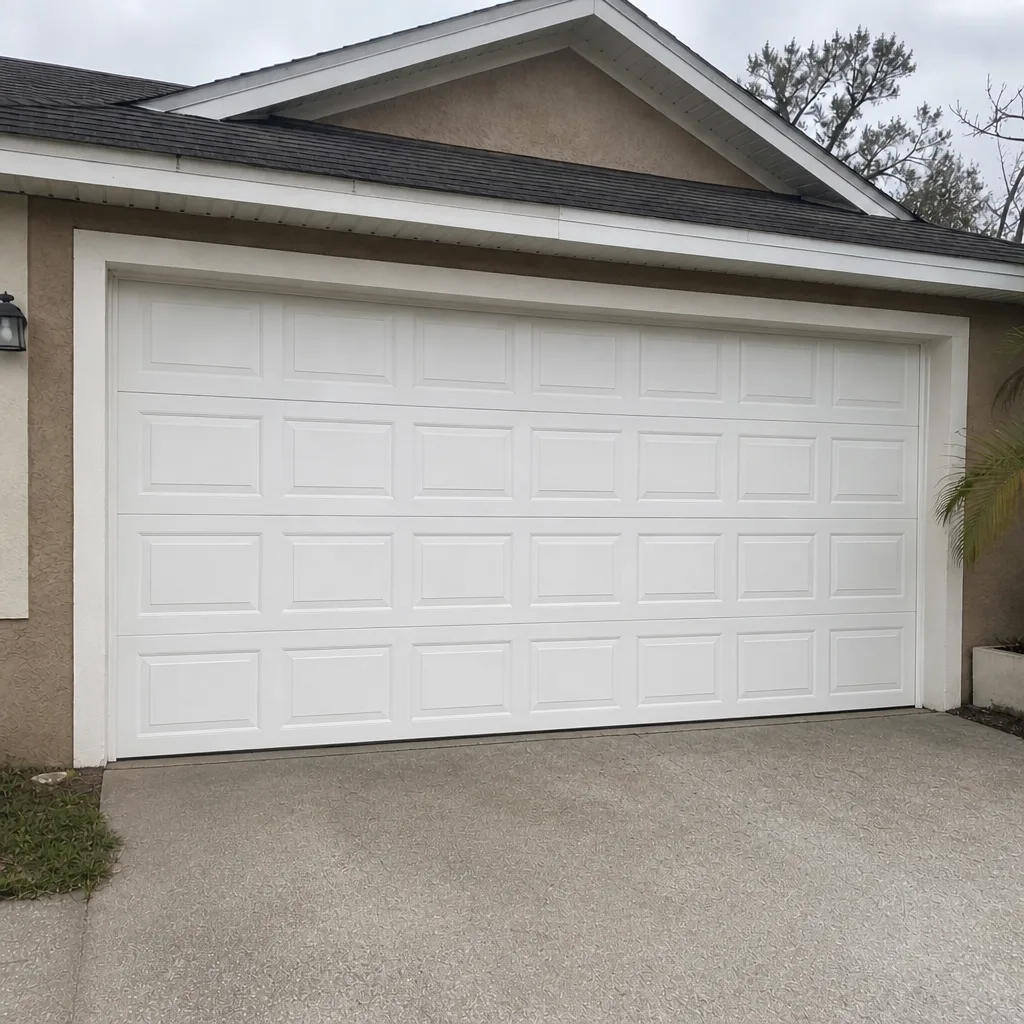
See the difference
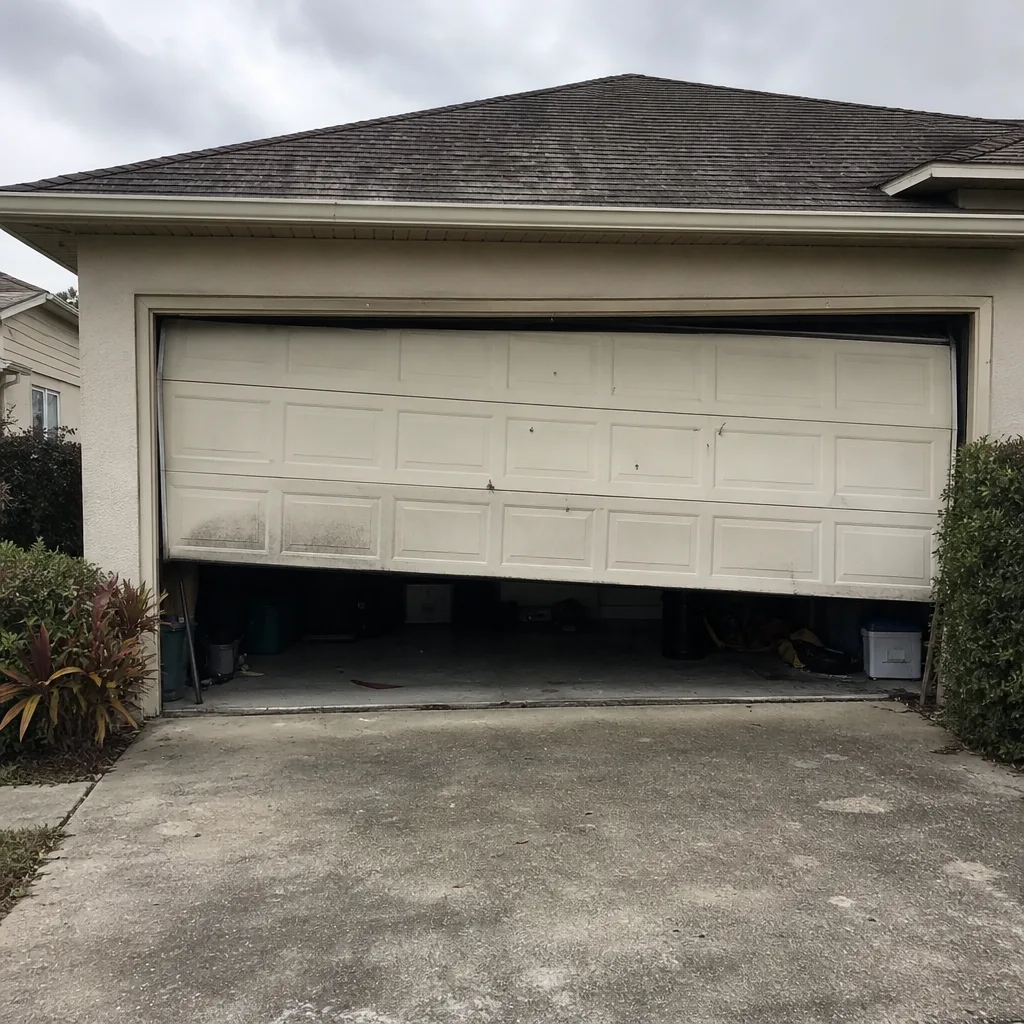 Before
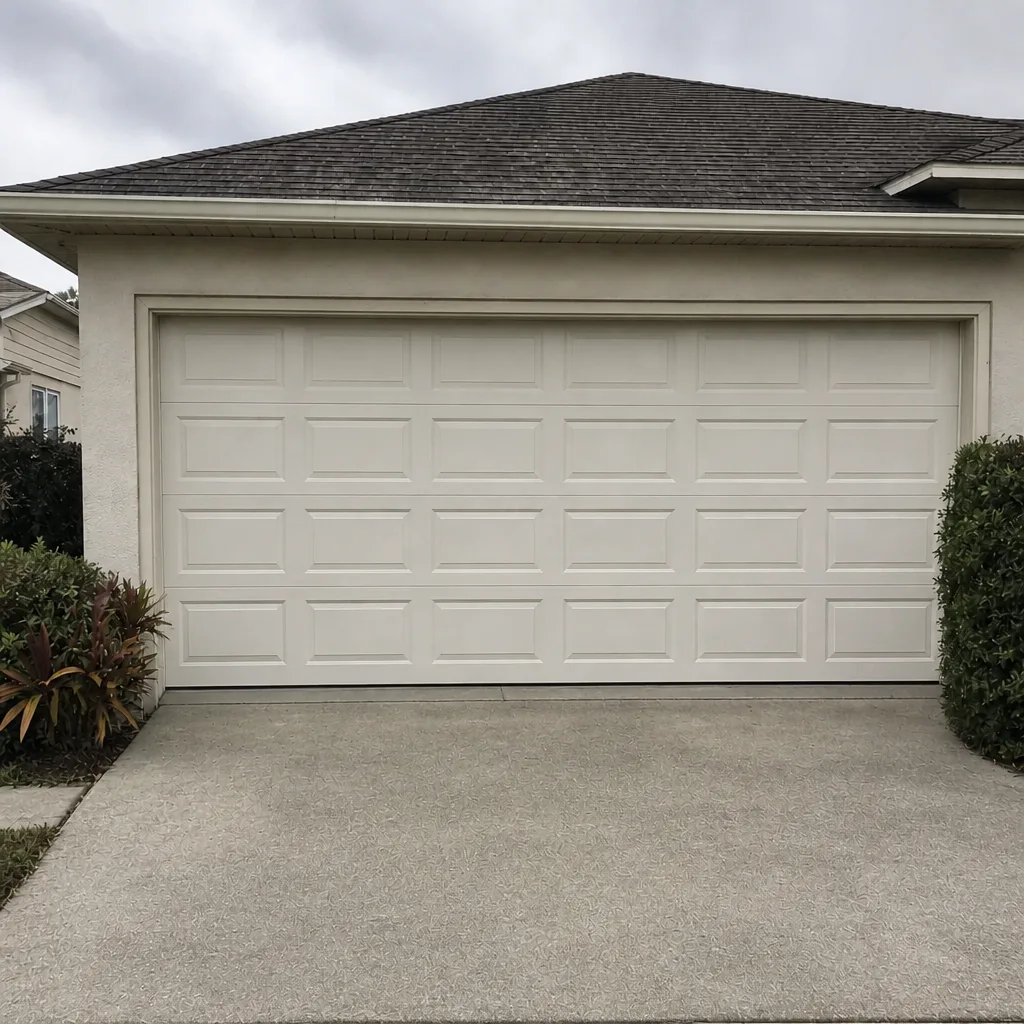 After
 Before
 After
 Before
 After
When to Call a Professional
Call a professional for any spring, cable, or opener issue. Also call if the door reverses without a cause, if it comes off the track, if a panel is cracked or dented, if the balance test fails, or if a breaker has tripped suddenly and won’t reset after the opener is unplugged. Those are the scenarios where a technician needs to be in front of the door, not on the phone describing what to check next.
Poinciana Garage Door Repair Co offers free estimates in Poinciana – call (877) 471-4560. We answer 24/7. Fast dispatch from 7am to 7pm, Sunday through Friday. When the door won’t move, we move fast. If a maintenance check turns up something worse, we handle garage door opener repair and full door replacement on the same visit. If the area is beyond our scope in any single visit, we tell you what’s needed and when. Our technicians have up to 9 years of experience, which matters on the checks most people skip.
Frequently Asked Questions
A visual and lubrication check once a month, plus a deeper inspection twice a year – before the summer storm season and after it ends. The rainy season here puts more stress on seals and tracks than a generic annual service would cover. If your door runs more than a dozen cycles a day, shorten the interval. Call (877) 471-4560 for an exact quote on any repair found during the check – estimates are free.
Checking and replacing a worn bottom seal after the rainy season. It’s overlooked because it’s low to the ground and easy to forget, but a failed seal is the leading cause of water intrusion and door-bottom warping here. Replacing it promptly is far cheaper than repairing the damage it protects against.
Yes, if it’s a same-spec replacement and the door bottom isn’t damaged. Order the correct profile for your door, remove the old seal, and slide the new one in. If the bottom panel is already warped or cracked, that’s a technician call. Call (877) 471-4560 for an exact quote – estimates are free.
A garage door specific silicone or lithium spray, applied sparingly. Skip WD-40, cooking spray, oil, and grease – all of them gum up or evaporate in the sustained heat. Don’t lubricate the tracks or the springs.
Test both mechanisms monthly: walk through the photoelectric beam at the floor and check that the door reverses, then place a heavy object under the closing door and check that it reverses on contact. It’s the check most homeowners skip and the one that matters most for safety. If either fails, stop using the opener and call us.
We aim for same-day service on spring issues and treat all spring work as urgent because a broken spring puts the whole door out of balance. Same-visit diagnosis and repair gets a lot of these handled in one trip. Call (877) 471-4560. We answer 24/7. Fast dispatch from 7am to 7pm, Sunday through Friday. Estimates are free.
Not everything. Loose hinge bolts, a stiff seal, and a dirty track are things you can handle yourself. Springs, cables, opener internals, force adjustments, and any balance issue belong with a trained technician. When in doubt, call – we’ll tell you what’s worth doing in your own garage.
The Bottom Line
Poinciana’s climate makes garage door maintenance a calendar problem as much as a hardware problem. Heat and rain drive failures on a predictable cycle, and the checks that matter most are the ones most people skip: the post-rain seal inspection and the monthly auto-reverse test. Do the 10-minute walk-through, do the deeper check twice a year, and keep anything near the springs, cables, or opener internals in a technician’s hands. The rest is genuinely manageable from your own garage. If a check turns up something you’re not comfortable with, we’re a call away and happy to talk through what it is before you commit to anything.
Poinciana Garage Door Repair Co handles the full scope – springs, openers, panels, and full door replacement – on Clopay, Amarr, Wayne Dalton, Craftsman, and the other major brands already on homes here. Same-visit diagnosis and repair when we can, and a clear plan when we can’t. Call (877) 471-4560 for a free estimate, and read more about Poinciana Garage Door Repair Co if you want the full picture.
Written by the team at Poinciana Garage Door Repair Co.